
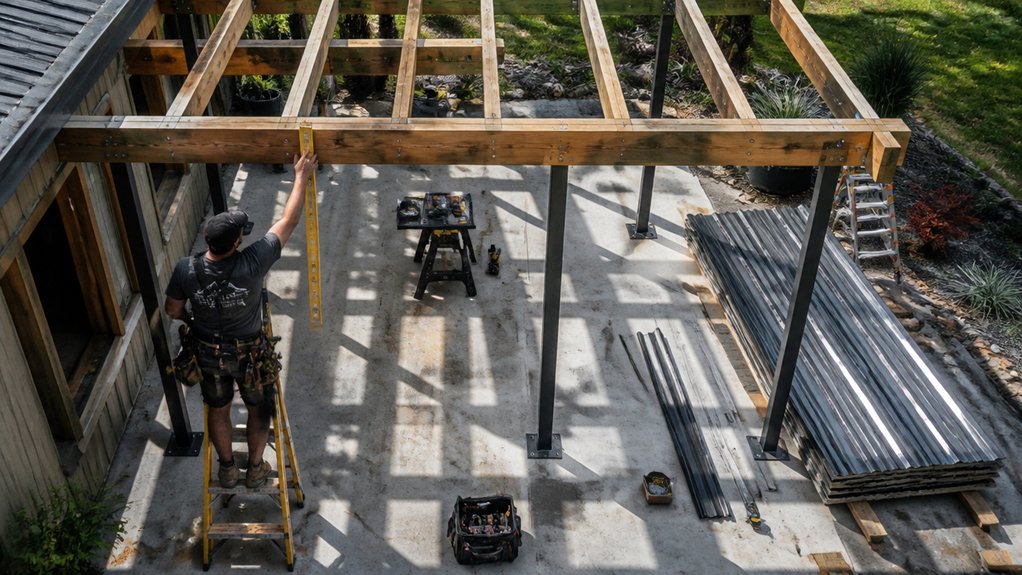
Adding a roof over an existing patio requires careful planning across several key areas. The process involves evaluating whether the current patio can structurally support a roof, checking local building codes, obtaining permits, selecting appropriate materials, and designing proper drainage. Each step carries specific requirements and potential complications.
Before breaking ground, you’ll need to assess your patio’s foundation and structural integrity. A professional engineer can determine if reinforcement is necessary to handle the added weight and wind resistance of a roof system.
Local building codes and permit requirements vary significantly by region, so contacting your municipal building department early in the planning phase is essential. Many jurisdictions have specific setback requirements, height restrictions, and safety standards that directly affect your roof design choices.
Material selection depends on your budget, climate, and aesthetic preferences. Options range from polycarbonate panels and aluminum frames for a lighter, more affordable solution to solid roofing materials that offer better insulation and durability.
Proper drainage design is equally critical to prevent water pooling and structural damage.
Assess Your Patio’s Structural Capacity
Assess Your Patio’s Structural Capacity
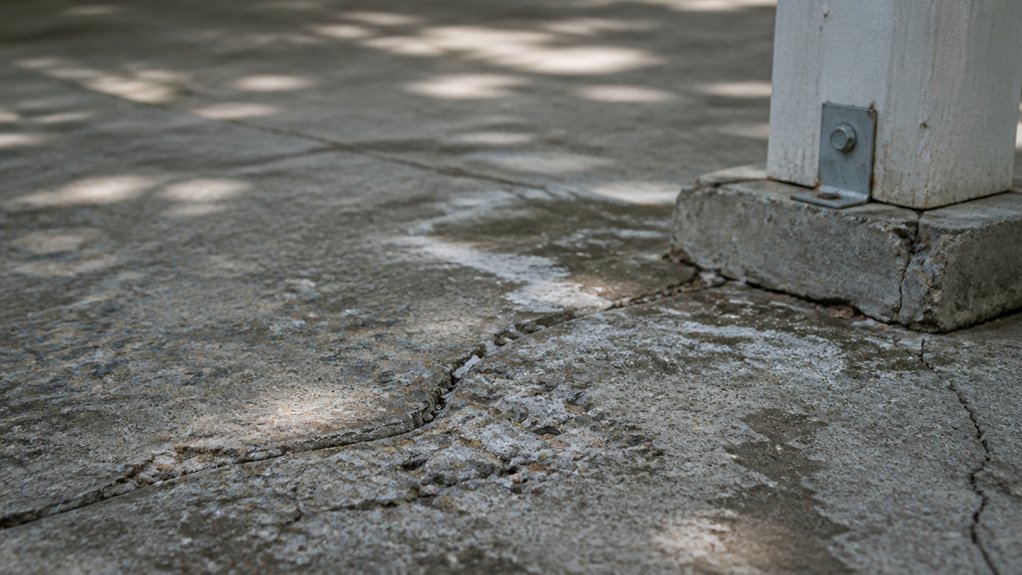
Before adding a roof, check if your patio can handle the extra weight and pressure. A typical roof adds 15 to 20 pounds per square foot. Look closely at the foundation, posts, and beams for cracks, rot, or settling.
Check Local Building Codes
Your area has specific rules about structural requirements for patios. These codes exist to keep your project safe and legal. A structural engineer can guide you through what applies to your situation.
When to Call an Engineer****
If your patio is older or shows signs of damage, get professional help. An engineer will examine the soil, review your framing, and tell you if reinforcement is needed. This step prevents expensive mistakes down the road.
Common Problem Areas
Weak post footings, undersized beams, and deteriorating concrete pop up frequently. Fixing these issues before installing the roof saves time and money. A solid foundation means your finished project will last for years.
Check Local Building Codes and Permit Requirements
Check Local Building Codes and Permit Requirements****
Every area has its own building codes that cover patio roofs. You’ll need to follow rules about roof slope, materials, wind and snow loads, and how the structure attaches to your home. Most building departments require a permit before you start any permanent roof work.
When you apply for a permit, bring detailed plans showing your roof’s dimensions, materials, and how it will be attached. If your roof is large, you may need to submit engineering calculations too. The approval process typically takes one to four weeks, depending on where you live.
Start by calling your local building department right away. Ask about zoning restrictions and what documentation you need. Get written approval before you buy materials or pick up a hammer.
Calculate Costs and Budget Your Project
Main Expenses to Consider
Materials make up the biggest chunk of your patio roof cost. You’ll need framing lumber, roofing panels, fasteners, and weatherproofing products. Labor rates run between $50 to $150 per hour depending on where you live and how complex the job is.
Permits and inspections typically cost $200 to $500. This varies by location. Always get multiple contractor quotes before spending money.
Additional Costs to Plan For
Your budget might include electrical work for lights or fans. You may need HVAC changes for better airflow. Site prep, demolition, and drainage systems can add up quickly too.
Building Your Budget
List each expense category on its own line. This keeps things organized and clear. Set aside 10 to 15 percent extra for surprises and unexpected problems that pop up.
Getting the Best Value
Check material quality carefully. Look at contractor experience and track records. Spending a bit more upfront often means better durability and fewer headaches later.
Choose the Right Roofing Material for Your Climate
After you’ve set your budget, it’s time to pick materials that work well where you live. Your local climate makes a huge difference in how long your roof lasts and how well it performs.
Hot, sunny areas call for polycarbonate panels or metal roofing. Both resist heat damage and UV rays by reflecting sunlight instead of soaking it up. If you get lots of rain, go with metal or vinyl for better water drainage. Places with heavy snow need sturdy materials like metal or fiberglass that won’t sag under the weight.
Wood pergolas thrive in dry climates. Moisture causes them to rot and decay, so skip them if your area stays damp. Humid zones require mold-resistant choices. Coastal homes need corrosion-resistant metals that can handle salt spray.
Always check your local building codes before deciding. They ensure your material selection meets regional weather requirements and proper installation standards.
Design Your Patio Roof’s Drainage and Slope
Good drainage keeps your patio roof strong and long-lasting. Without it, water pools up and causes damage over time. A sloped roof naturally directs rain away from your structure, which is the key to preventing problems.
Aim for at least a 1/8 inch drop per foot of roof length. Steeper slopes work even better and shed water faster. Tilt the high edge toward your house and slope down toward the outer edge.
Gutters and downspouts are your drainage team. They catch runoff and push water away from your foundation and patio. Install gutters along every edge of your roof, and angle them slightly toward collection points so water flows smoothly.
Bigger patios need bigger gutters. More roof space means more rainwater to handle, so size your gutters and downspouts accordingly. Metal and vinyl gutters both work well for typical rainfall amounts in most areas.
Plan Your Patio Roof’s Support Structure and Posts
Plan Your Patio Roof‘s Support Structure and Posts
Posts are the backbone of your patio roof. They transfer the weight of your roof down to the ground below. Most homeowners pick between wood posts, steel columns, or concrete piers based on what fits their budget and how long they need the structure to last.
Space your posts 8 to 12 feet apart to prevent beams from sagging too much. Each post needs a concrete footing that goes below the frost line, which anchors it firmly in place. The frost line depth changes depending on where you live, anywhere from 12 inches in warm areas to 48 inches in colder regions.
Horizontal beams connect your posts together and create the frame for your roof panels. Building codes in your area set the minimum requirements for post size and footing depth. These standards depend on local snow loads and wind conditions. A structural engineer can figure out the exact specifications your project needs.
Install the Frame and Roofing System
Install the Frame and Roofing System
Start by securing your horizontal beams to the posts. Use bolts, lag screws, or metal brackets to create a solid connection. This step prevents the framework from shifting and keeps everything structurally sound.
Once beams are in place, attach your roof panels. You can choose polycarbonate sheets, metal panels, or wood shingles depending on your needs. Each material has its own installation method and spacing requirements.
Install flashing where your roof meets the house. This metal strip directs water away from joints and seams, protecting vulnerable areas from leaks.
Add ventilation openings under the roof to allow air to flow freely. This reduces heat and moisture buildup, which helps your materials last longer.
Make sure all fasteners are rated for outdoor conditions and resist rust and corrosion. Quality hardware keeps your entire structure secure through all seasons.
Frequently Asked Questions
Can I Install a Patio Roof Myself or Do I Need Professional Help?
Installing a patio roof is possible for experienced DIYers with proper tools and skills, though structural calculations and permits typically require professional expertise. Most homeowners benefit from hiring contractors to guarantee safety, code compliance, and proper installation.
How Long Does It Typically Take to Complete a Patio Roof Installation Project?
A typical patio roof installation takes two to four weeks, depending on size, complexity, and weather conditions. Simple attached structures may require only a few days, while elaborate designs with electrical work or permits could extend to several months.
What Maintenance Is Required to Keep a Patio Roof in Good Condition?
Regular maintenance guarantees longevity. Homeowners should inspect gutters quarterly, remove debris, and check for leaks seasonally. They must clean the roof surface annually and address rust or damage promptly. Sealing joints every few years prevents water infiltration and extends the structure’s lifespan considerably.
Will Adding a Roof Increase My Home’s Resale Value and Property Taxes?
A patio roof typically increases home resale value by improving aesthetics and functionality. However, property tax implications vary by location. Homeowners should consult local assessors, as some jurisdictions reassess property values following structural additions.
Can I Add Electrical Wiring or Lighting Fixtures to My New Patio Roof?
Like adding a nervous system to a body, electrical wiring transforms a basic structure into a functional space. Yes, one can install lighting fixtures and wiring, though this requires hiring a licensed electrician and obtaining proper permits to guarantee safety compliance.
Conclusion
Adding a roof to an existing patio is like building a bridge between shelter and open air. Homeowners must navigate structural assessments, permit requirements, material selection, and installation planning. Each step locks into place like puzzle pieces, supporting the final structure. Success requires checking the foundation, understanding local codes, budgeting carefully, and choosing durable materials. With proper planning and execution, the patio transforms into a protected outdoor space.